Also today, I bring my nine-month-long photography project to a close. I have photographed these same spots now on the First Day of winter, spring, summer and fall, respectively. Always at the same time of day (so that any lighting differences are actually an indication of the earth's orbit).
There were quite a few different spots that I photographed, but for the sake of your time and attention, I'll only share the most interesting. (you can click on the photos to enlarge them if you want to)

winter

spring

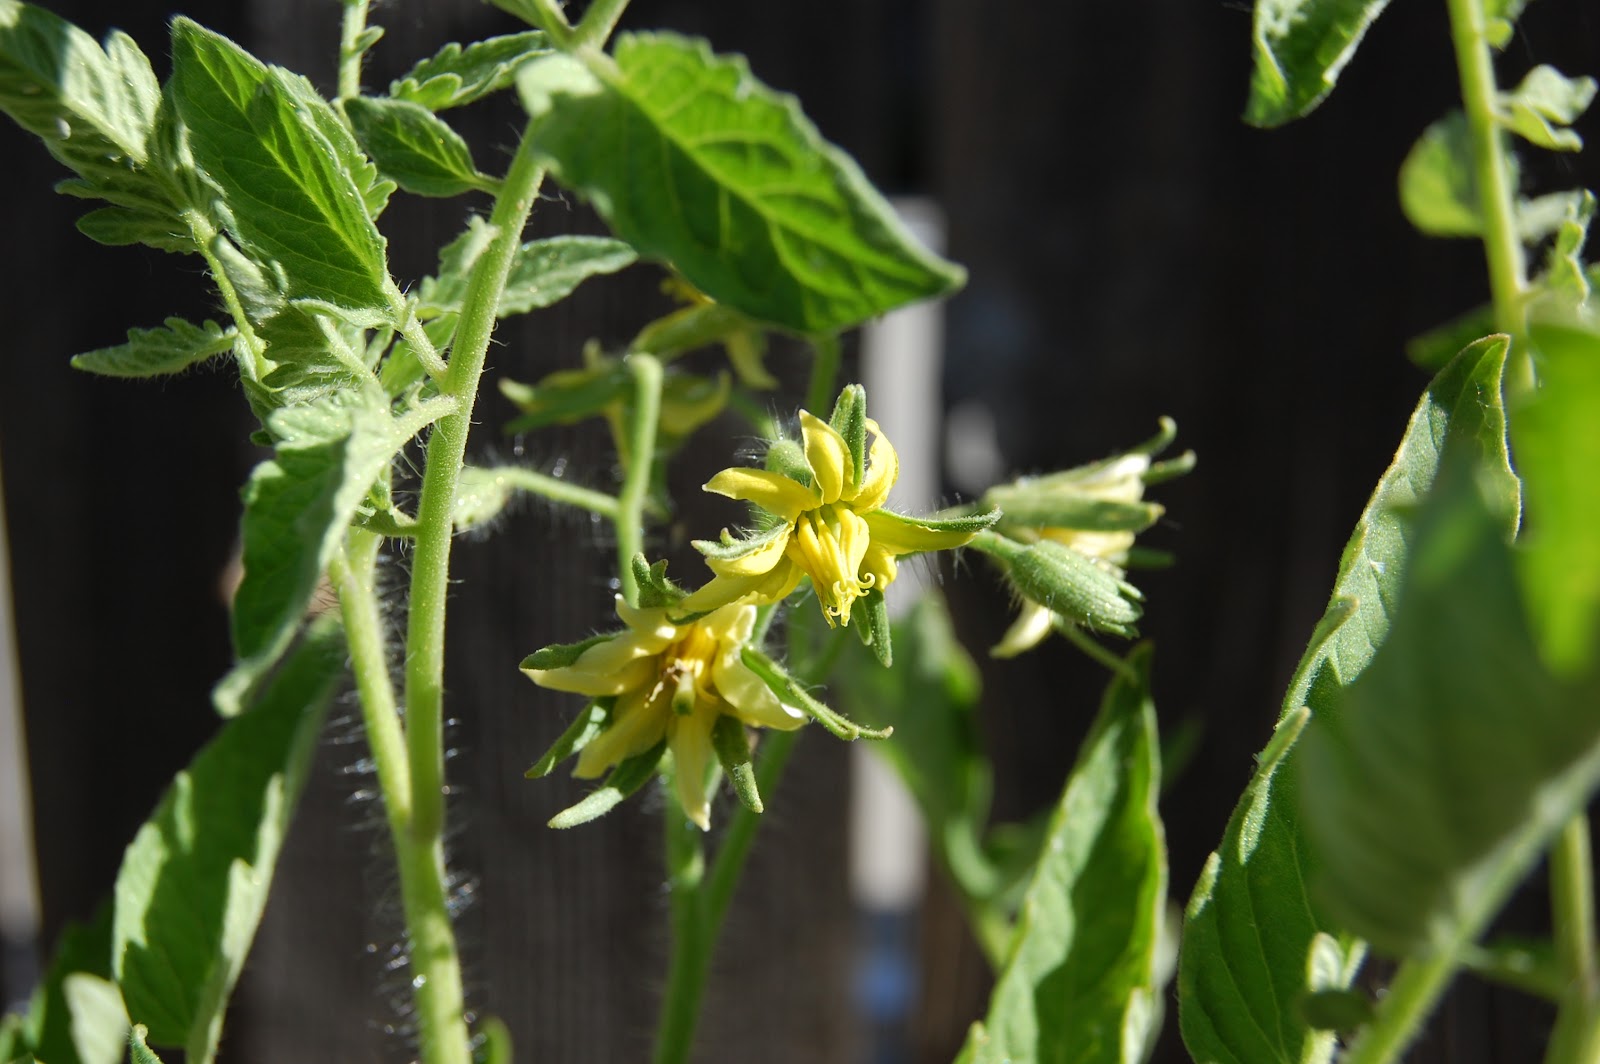
summer

fall
I don't know if it's the preggy hormones running through my veins, or if I'm kinda sentimental anyway (probably both) but taking these last photos got me to thinking about the seasons changing, not just in the natural world, but in my personal life as well. I thought about where I was a year ago. Or even nine, six, and three months ago when I came back to the park to take these photos.

winter

spring

summer

fall
It took a good long time to get over that one. I spent most of the winter wallowing in depression and self-pity. But I allowed myself those feelings so I could walk through my grief properly and come out to the other side, to the spring.
Also a year ago, we had been wanting another baby for quite awhile, and I was feeling discouraged that it was taking so long. But six months later, we found out we were finally pregnant and one week after that, I was shooting the spring photos... :) My belly has grown progressively bigger as I've shown up to the park in summer and fall. And now here we are, only about a month away from his arrival. 
winter

spring

summer

fall
Another dream that we had for several years was to own a home. As of winter, we had been looking and making offers off and on for about 7 years. By spring, we had made an offer on a cute little fixer-upper, but I didn't have my hopes up too high. But by summer, our dream had finally become a reality and we had moved into our first home, deep in the throws of a major remodelling project.

winter

spring

summer

fall
So as I look at these photos and study the changing face of the seasons, how the same spot can look so different over such a short amount of time, I correspondingly marvel at the changes in my face. A little more weathered, a little older - a few more wrinkles from new projects and less sleep, a few more gray hairs of grief and worry, skin a little darker from working my land, a twinkle in my eye for a new little one to love, and the woman in the mirror seems more of a mother to me now and a little less of a daughter.
So much has happened this year, I can only imagine what the next season will bring...


.jpg)


